

Food Waste Action Week Saturday Tip
DIY: Beeswax and Vegan Wax Wraps in 4 Easy Steps

Beeswax wraps are an eco-friendly alternative to cling film. They are not only reusable and plastic-free, but also keep your food fresh, reducing your food waste!
There are many types of beeswax wraps available to buy, why not check out our range of sizes and designs on the Green Alternatives website in our Kitchen Collection?
But if you are feeling crafty and want to make your own, it really is simple to do, and they make for a great homemade gift!
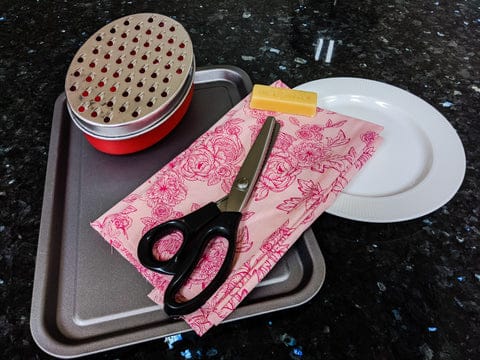
You will need:
- Beeswax or vegan wax block (available from the Green Alternatives website)
- Pinking scissors – these will prevent the material from fraying so are preferable to ordinary scissor, you can find them in most craft and fabric shops, or from independent UK sellers on Etsy
- 100% cotton material – this could be an old T-shirt or sheet which needs repurposing
- Pencil or chalk
- Plate or shape to draw around
- Baking tray
- Cheese grater
- Oven – preheated at 180'C
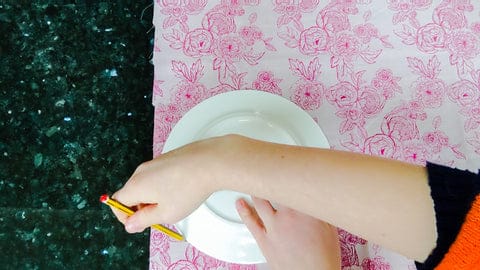
Step 1 – Cutting your material
First ensure your material is clean and ironed before measuring out the size and shape you want your wrap to be, this is completely up to you, but I have chosen a small plate. Simply place the plate on your material and draw around it with a pencil or chalk.
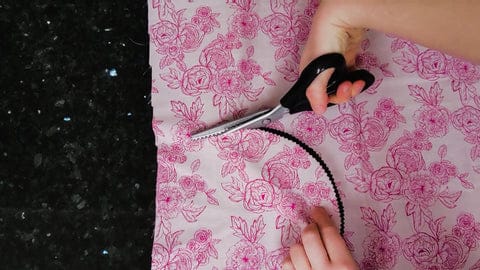
Take your pinking shears and cut out your shape, following your line for guidance.
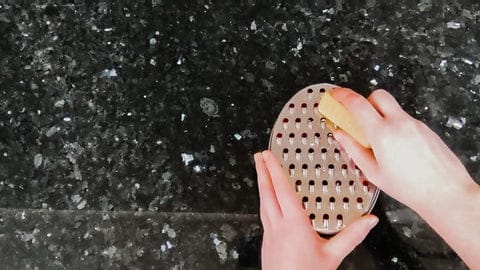
Step 2 – Preparing your wax
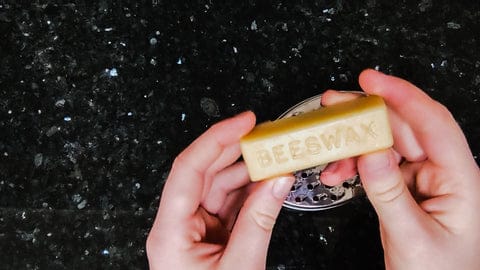
Next take your beeswax or vegan wax block and grate using a cheese grater until you have a small pile of wax shavings. To avoid waste, don’t grate too much, you can always grate more if you need it!
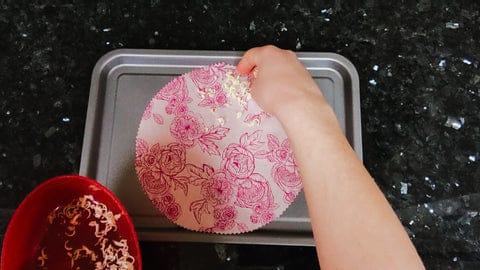
Step 3 – Put your wrap in the oven
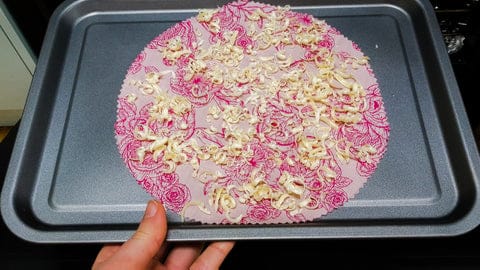
Lay out your cut material on a baking tray and sprinkle the wax shavings on top in an even layer.
Then place in the oven for just 2-3 minutes until the wax has melted.
Step 4 – Let dry
Take the tray out of the oven and pick up the wrap using kitchen tongs or tweezers to allow the excess wax to drip away.
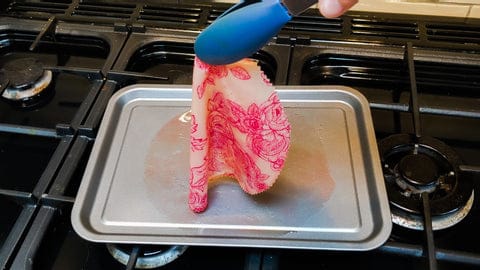
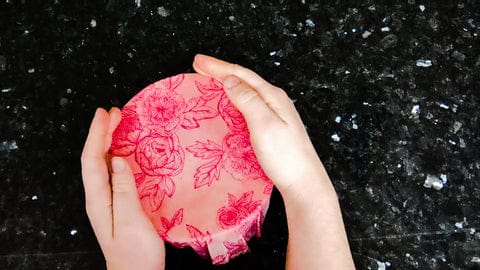
The wrap will dry and cool in about 1 minute. Your wax wraps are ready to go! Just use the heat from your hand to mould the wrap over your dish or food and it will keep your leftovers fresh!
I recommend hand washing your wraps in cool or lukewarm water to avoid the wax melting.
Over time you wrap whether homemade or bought may start to lose its waxiness, but don’t worry – it is not the end of your trusty wrap yet! Simply repeat the process above and your wrap will be as good as new again. If you think it is beyond repair, you can throw it in your compost bin because it is 100% cotton!
Take a look at our Eco Hints and Tips page throughout this week to see more daily advice for reducing your food waste. Make sure you are using #FoodWasteActionWeek and tagging @lfhw_uk in your social media posts to help spread the word and also any useful tips you have come up with to reduce your food waste!